Getting Started
Simple and safe, using Melt & Pour is a beginner-friendly method of soap making.
Equipment
Small batches of around 70g of soap:
- Microwave
- Jug or bowl
- Cheese grater
- A plastic chopping board
- Silicone cake moulds (small cupcakes size) or any plastic container (empty tub of butter for example)
- Spoon (plastic or silicone)
- Colours
- Fragrances
Larger batches of 1kg of soap or more:
- Saucepan
- Bowl
- Cheese grater
- A plastic chopping board
- Silicone loaf mould or any plastic container
- Spoon (plastic or silicone)
- Colours
- Fragrances
Melting the soap base
Small batch
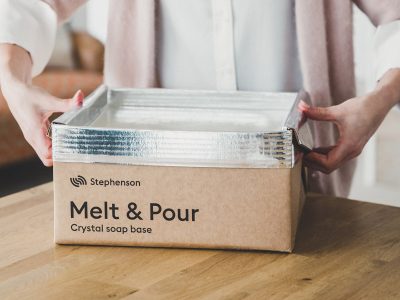
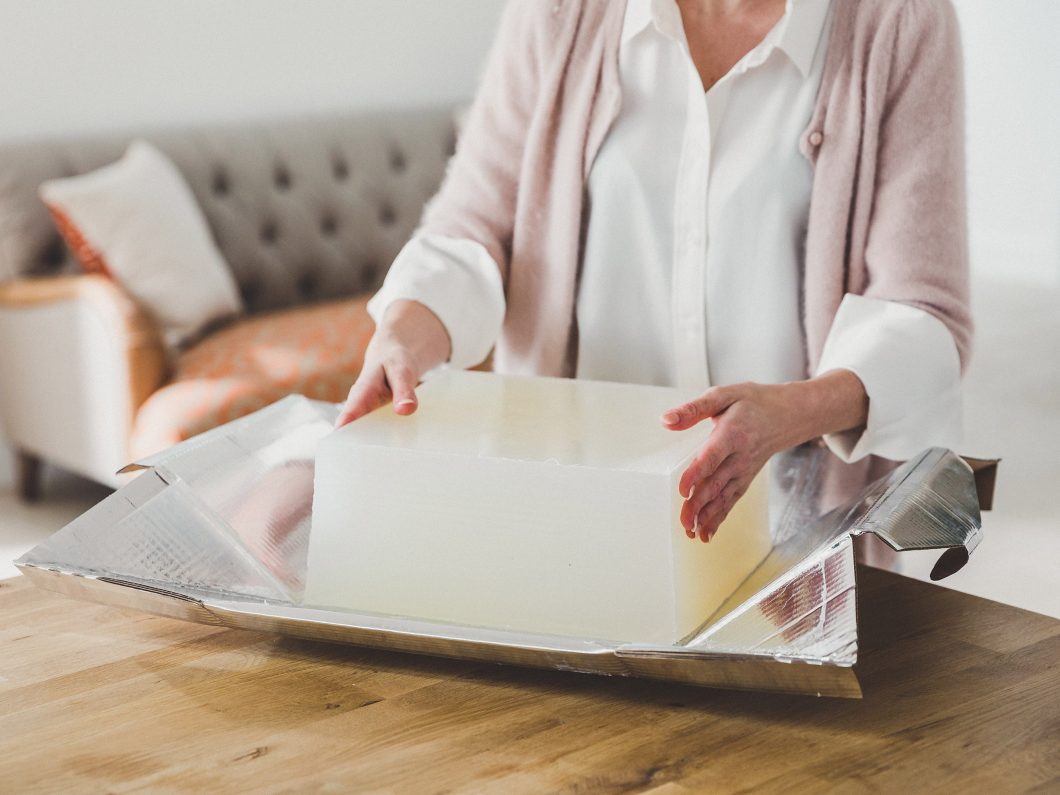
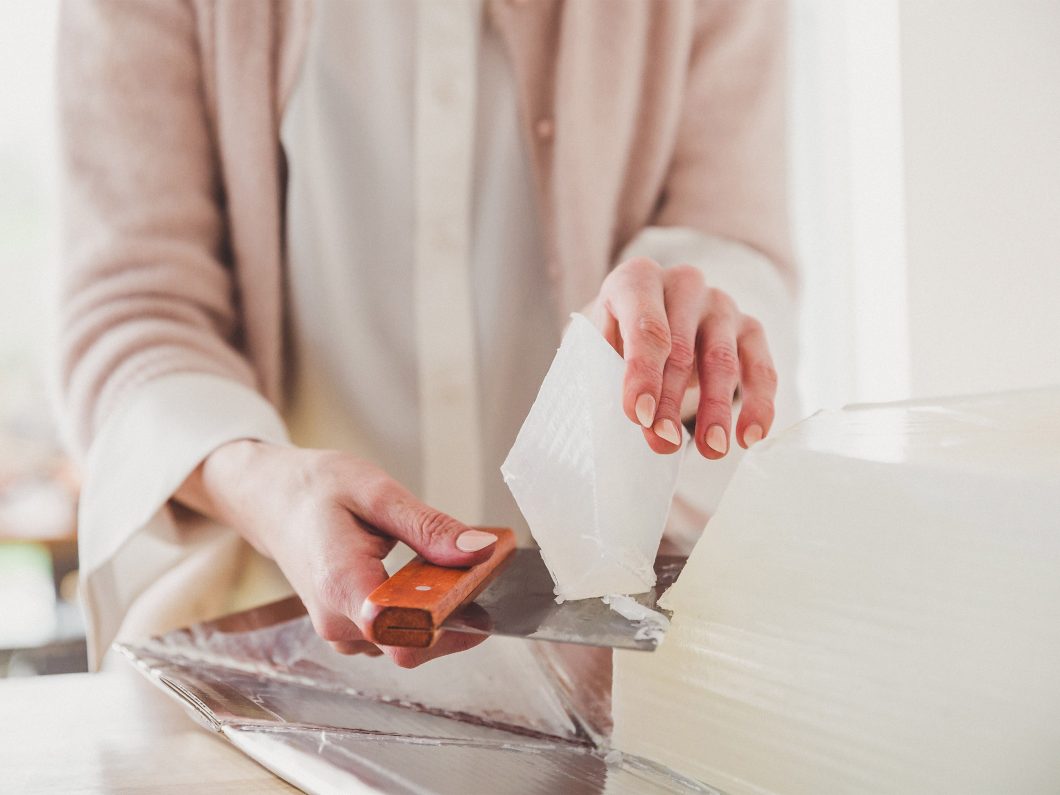
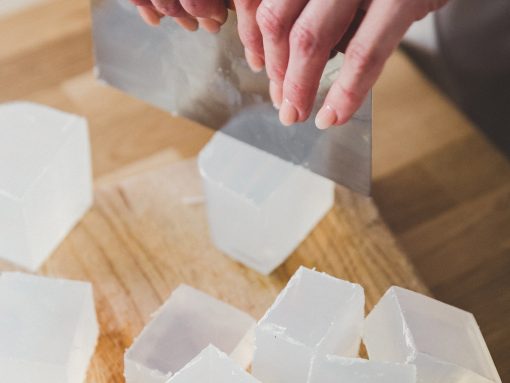
If you want to start with a small batch of three soaps, weigh 210g of Melt & Pour base and use a kitchen knife to cut it into chunks. Grate the chunks onto a chopping board, just as you would with a block of cheese – this will allow the base to melt more quickly in the microwave.
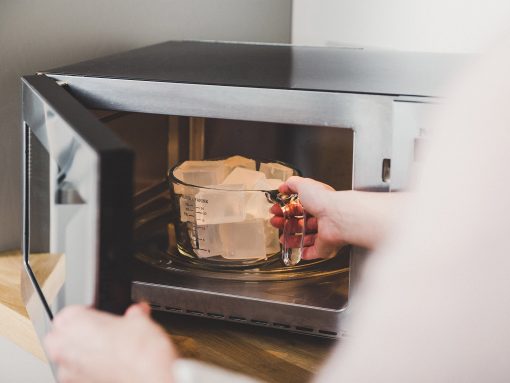
Warning: use the microwave on full power for a few seconds at a time, checking to see if the soap base has melted fully. Around 15 seconds for a single soap bar batch using a typical domestic microwave is usually right, but take care, as it’s easy to overheat. Avoid overdoing it or leaving it on a continuous heat, as this can destroy the soap’s moisture and affect the texture of the finished product.
Larger batch
Pour some water into a saucepan and warm it up on the stove. Grate chunks of soap base onto a chopping board and put them in a container that sits comfortably in the saucepan. This melting technique is called bain-marie.
The soap will melt by gentle warming, with a typical melting point of 600C.
Warning: stirring your mix too often when melting will create small air bubbles that become trapped inside the soap and spoil the final result.
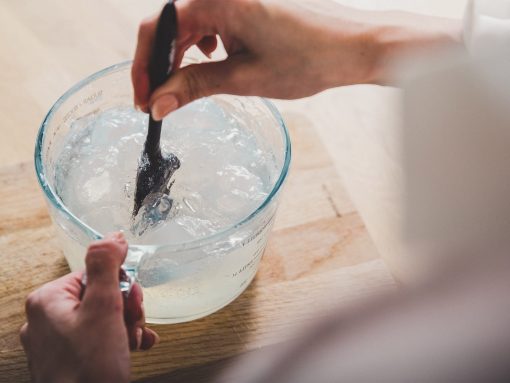
Now the fun begins!
Once the soap has melted, you need to work fast!
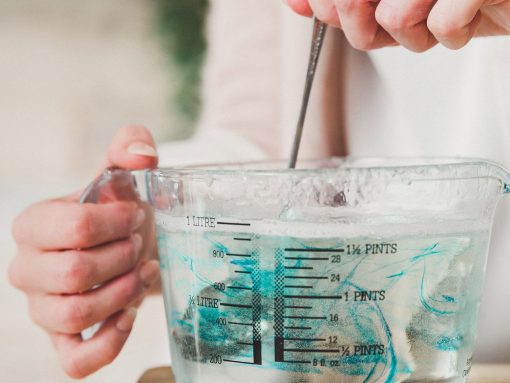
Add your essential oil (between 5-10ml for 1kg of soap, or a few drops for a smaller batch), special additives (dried flowers, poppy seeds etc.) and the colour.
These extra ingredients should be added while the melted base is cooling but still liquid – stir well to disperse them. Pour into the moulds before a skin forms, as this will spoil the finish of the final bar of soap.
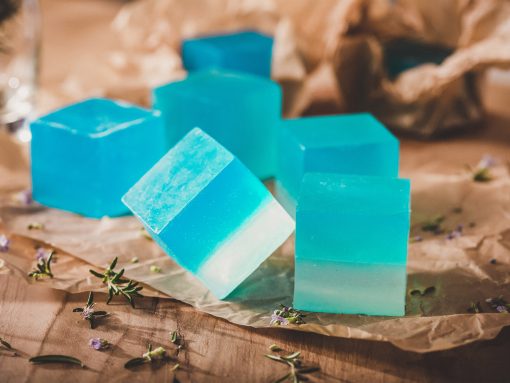
You can add dry flowers on top of the soap once it’s poured into moulds.
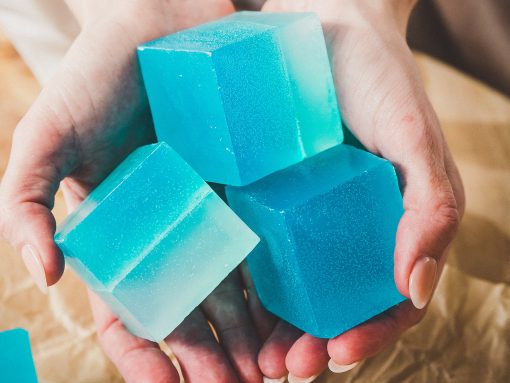
Once all of your ingredients are added, pour your soap carefully and slowly into the mould and allow it to cool.
Warning: dried flowers and poppy seeds will sink to the bottom of the mould if you add too many, so for best results, use them sparingly.
You can easily re-heat a ready-made mixture while it’s still in its container (if for instance you notice a skin forming and you haven’t yet blended your ingredients) but take care not to overheat, as the delicate essential oil could evaporate.
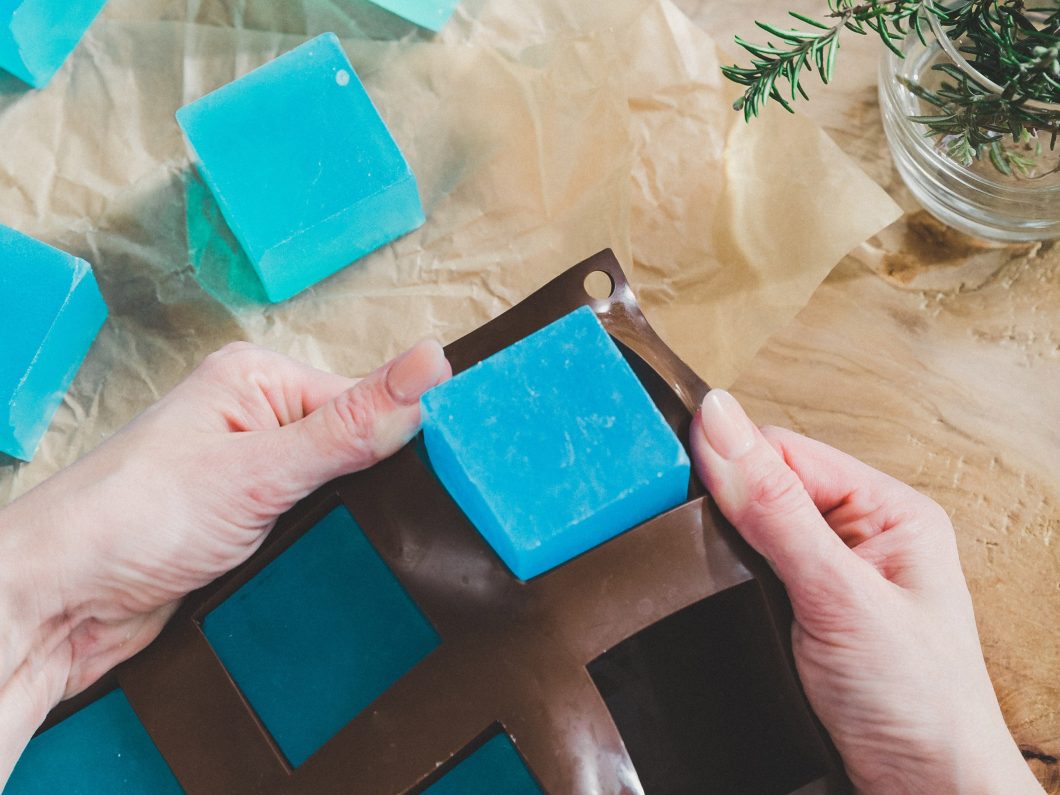
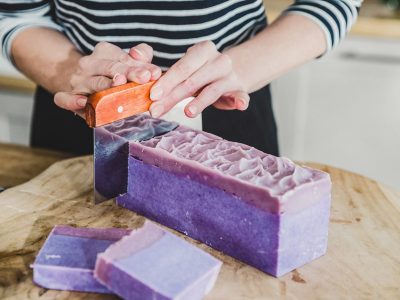
Removing your soaps from the mould
It’s simple to get your individual soaps out of their moulds. Before you try, make sure the soap has completely cooled. If you used a silicone mould, just peel it off. If you used a more rigid plastic mould and you’re finding it tricky to release the soap, put it into the freezer until it’s quite cold throughout (don’t freeze it though!). When you remove the soap from the freezer, the change in temperature on the surface will help it release from the mould.
Where to keep your soaps
Melt & Pour is water-based, and over time may shrink by up to 9%. You can avoid this by wrapping your soaps and storing them in airtight containers.
Melt & Pour soap is best kept on a soap rack when in use, and exposure to water (on the sink for example) will cause it to soften considerably. Exposure to the cold will also make moisture accumulate on the surface of the soap, giving it a wet, sticky layer. To prevent this from happening, keep your soap in a warm, dry place.
Warning: when melted, the soap base will be hot. Always take care and don’t allow small children to play with the hot liquid or leave unattended when heating.
Essential oils: Take care when using essential oils or fragrances, and always test a small amount of soap base to make sure they're compatible. Always add essential oils and fragrances when the base is cooling rather than hot. Many essential oils are flammable, so keep away from any naked flames or sources of ignition. Essential oils are very concentrated – you need only small amounts in most cases. These products are not safe to eat and should always be kept out of reach of children. Keep essential oils away from plastics and polished surfaces.
Melt & Pour should suit all skin types, but in the event of any irritation or adverse reaction, wash well with cold water and discontinue use. High levels of essential oils may irritate the skin; use sparingly and consult a good aromatherapy book for which oils should be avoided or have specific hazards.